

Firefighters must install the 2 Way Breeching Inlet with care to ensure system reliability. Proper alignment, secure connections, and thorough checks protect both lives and property. Strict adherence to standards prevents system failure. Many teams also compare features with the 4 Way Breeching Inlet for optimal performance.
Key Takeaways
- Prepare all tools and safety gear before installation to ensure a smooth and safe process.
- Position the inlet at an accessible height and secure it firmly to prevent damage and allow quick use during emergencies.
- Test the inlet for leaks and pressure strength, then maintain it regularly to keep it reliable and ready for fire emergencies.
2 Way Breeching Inlet Pre-Installation Preparation
Tools and Equipment Needed for 2 Way Breeching Inlet
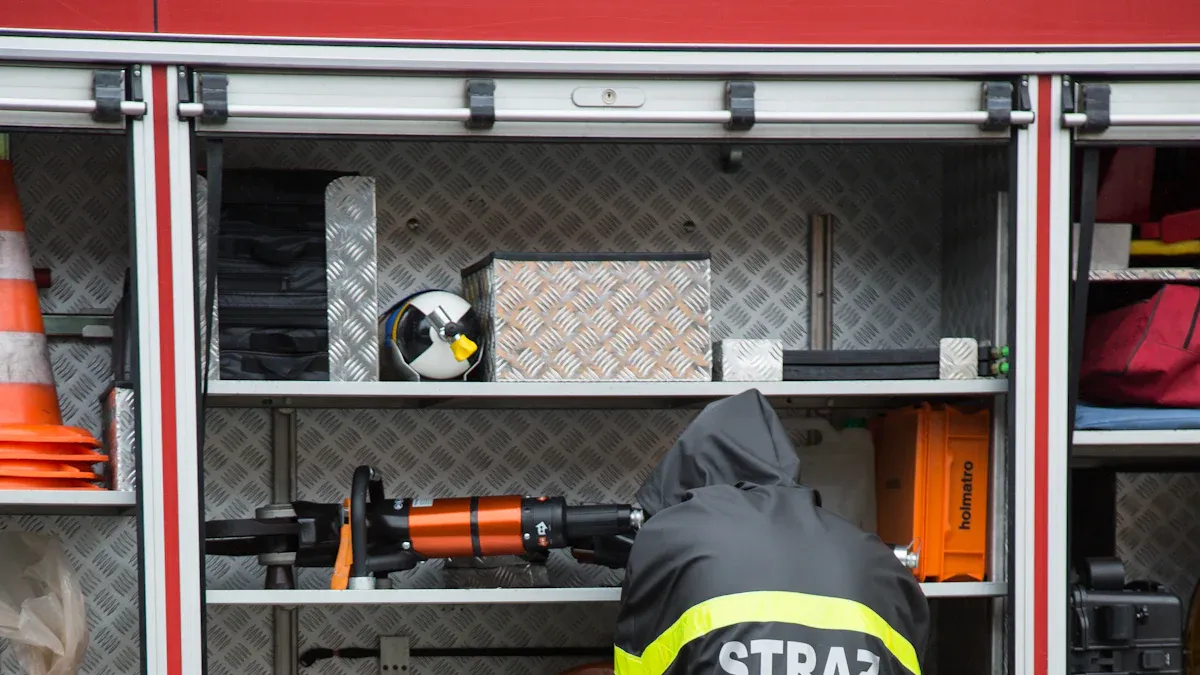
Firefighters gather all necessary tools before starting the installation. They use wrenches, pipe cutters, and measuring tapes to ensure precise fitting. Pipe sealants and thread tapes help prevent leaks. Workers also need mounting brackets, bolts, and anchors to secure the inlet. Safety gloves, helmets, and eye protection keep the team safe during the process. A checklist helps confirm that no tool or part is missing.
Tip: Always inspect tools for damage before use. Damaged equipment can cause delays or safety hazards.
Safety Checks and Site Assessment for 2 Way Breeching Inlet
A thorough site assessment ensures a safe and effective installation. Teams check that the location is clear of obstructions and offers enough space for firefighters to work. They confirm that the 2 Way Breeching Inlet matches the building’s water supply system. The team selects durable materials like brass or stainless steel to handle high water pressure and resist corrosion. Proper fit and secure connections prevent leaks or failures. Regular maintenance and weatherproofing protect the inlet from environmental damage and keep it reliable for years.
Site Assessment Checklist:
- Clear area with no obstructions
- Sufficient operating space for firefighters
- Compatible with building water supply
- Use of corrosion-resistant materials
- Secure and leak-proof connections
- Plan for ongoing maintenance and weatherproofing
2 Way Breeching Inlet Step-by-Step Installation Process
Positioning the 2 Way Breeching Inlet
Firefighters begin by selecting the correct location for the 2 Way Breeching Inlet. The team checks that the inlet sits at an accessible height, usually between 300 mm and 600 mm above ground level. This position allows easy hose connection during emergencies. The inlet must face outward and remain visible, even in low-light conditions. Teams avoid placing the inlet behind obstacles or in areas with heavy foot traffic.
Note: Proper positioning ensures firefighters can quickly locate and use the inlet during a fire emergency.
A clear path from the street to the inlet helps emergency crews work efficiently. The team also considers local fire codes and building regulations. Yuyao World Fire Fighting Equipment Factory recommends marking the inlet with reflective signage for better visibility at night.
Securing the 2 Way Breeching Inlet to the Structure
After positioning, the team secures the 2 Way Breeching Inlet to the building. Workers use mounting brackets, bolts, and anchors to attach the inlet firmly to the wall or support structure. The team checks that the surface is strong enough to hold the inlet under pressure. They tighten all bolts and ensure the inlet does not move or shift.
A typical securing process includes:
- Marking the mounting points on the wall.
- Drilling holes for anchors.
- Placing the mounting brackets.
- Fastening the inlet with bolts.
A stable installation prevents damage during use and keeps the system reliable. Yuyao World Fire Fighting Equipment Factory supplies high-quality mounting hardware to support secure installations.
Connecting the 2 Way Breeching Inlet to the Water Supply
The next step connects the 2 Way Breeching Inlet to the building’s water supply system. The team measures and cuts pipes to fit between the inlet and the main water line. Workers use pipe sealant or thread tape on all threaded joints to prevent leaks. They connect the pipes using approved fittings and check that each joint is tight.
A simple connection checklist:
- Measure and cut pipes to correct length.
- Apply sealant or thread tape to threads.
- Attach pipes with proper fittings.
- Tighten all connections.
Tip: Always use pipes and fittings rated for high pressure to avoid failures during emergencies.
Yuyao World Fire Fighting Equipment Factory offers a range of compatible fittings and pipes for different building needs.
Sealing and Alignment of the 2 Way Breeching Inlet
Sealing and alignment play a key role in system performance. The team inspects all joints and connections for gaps or misalignment. Workers use gaskets and sealants to close any small openings. They check that the inlet sits straight and lines up with the connecting pipes. Misalignment can cause leaks or make hose connections difficult.
A table for common sealing materials:
| Material Type | Use Case | Advantages |
|---|---|---|
| Pipe Sealant | Threaded joints | Prevents leaks |
| Gasket | Flanged connections | Provides tight seal |
| Thread Tape | Small threaded fittings | Easy to apply |
The team tests the alignment by attaching a hose and checking for smooth connection. Yuyao World Fire Fighting Equipment Factory recommends regular inspections to maintain proper sealing and alignment over time.
2 Way Breeching Inlet Testing and Verification
Pressure Testing the 2 Way Breeching Inlet
Firefighters must verify the strength and durability of the 2 Way Breeching Inlet after installation. They conduct pressure testing to ensure the system can handle emergency demands. Industry standards, such as BS 5041 Part 3 and BS 336:2010, guide these procedures. The team typically tests the inlet at double its working pressure. For example, if the working pressure is 10 bar, the test pressure reaches 20 bar. This process checks for structural integrity and confirms that the inlet meets safety requirements.
| Aspect | Details |
|---|---|
| Applicable Standards | BS 5041 Part 3:1975, BS 336:2010, BS 5154 |
| Working Pressure | 10–16 bar |
| Testing Pressure | 20–22.5 bar |
| Body Material | Ductile iron to BS 1563:2011 |
| Inlet Connection | 2.5″ Male Instantaneous Connector (BS 336) |
| Certifications | ISO 9001:2015, BSI, LPCB |
Tip: Always record test results for future reference and compliance checks.
Leak Checks for the 2 Way Breeching Inlet
After pressure testing, the team inspects all joints and fittings for leaks. They look for water seepage around connections and valves. Any sign of moisture signals a need for tightening or resealing. Leak checks help prevent water loss and system failure during emergencies. Teams use dry cloths to wipe surfaces and spot even small leaks.
Functional Testing of the 2 Way Breeching Inlet
Functional testing ensures the 2 Way Breeching Inlet operates as intended. Firefighters follow these steps:
- Inspect all connections to confirm they are tight and secure.
- Check for leaks around every joint.
- Open and close the valves to verify smooth operation.
These actions confirm that the breeching inlet is ready for emergency use. Regular testing keeps the system reliable and safe for all building occupants.
Common 2 Way Breeching Inlet Installation Mistakes and How to Avoid Them
Incorrect Positioning of the 2 Way Breeching Inlet
Many teams place the inlet in hard-to-reach spots. This mistake slows down emergency response. Firefighters need to access the inlet quickly. The best location sits at a visible height and away from obstacles. Teams should always check local fire codes before choosing a spot.
Tip: Mark the inlet with reflective signs. This step helps crews find it fast, even at night.
Inadequate Sealing of the 2 Way Breeching Inlet
Leaks often happen when workers skip proper sealing. Water can escape through small gaps or loose fittings. Teams should use pipe sealant, gaskets, or thread tape on every joint. After sealing, they must inspect each connection for drips or moisture.
A table for sealing checks:
| Step | Action |
|---|---|
| Apply sealant | Use on all threads |
| Install gaskets | Place at flanges |
| Tighten fittings | Check for movement |
Skipping Safety Checks During 2 Way Breeching Inlet Installation
Some crews rush the job and miss safety checks. This mistake can lead to system failure. Teams should always inspect tools, wear safety gear, and review the site before starting. A checklist helps prevent missed steps.
Note: Careful safety checks protect both firefighters and building occupants.
2 Way Breeching Inlet Maintenance Tips Post-Installation
Regular maintenance keeps the 2 Way Breeching Inlet reliable and ready for emergencies. Fire safety organizations recommend a clear schedule for inspections and testing. Teams should follow this routine to prevent failures and extend equipment life.
| Maintenance Activity | Frequency | Details/Notes |
|---|---|---|
| Inspection of Dry Riser System | Monthly | Visual and functional checks of equipment |
| Hydrostatic Testing | Annually | Test at up to 200 PSI for 2 hours |
| Defect Identification | Ongoing | Continuous monitoring and timely rectification |
| Standpipe System Inspection | Quarterly | Check hoses, valves, and FDCs for damage/accessibility |
| Standpipe Hydrostatic Testing | Every 5 years | Testing of piping and components |
| Breeching Inlet Maintenance | Continuous | Keep operational and secure (e.g., padlocks) |
Teams inspect the dry riser system every month. They look for visible damage and test the function of each part. Annual hydrostatic testing checks the system’s strength under pressure. Crews must monitor for defects at all times and fix problems quickly. Standpipe systems need quarterly checks to ensure hoses, valves, and fire department connections remain accessible and undamaged. Every five years, a full hydrostatic test of the standpipe piping and components confirms long-term reliability.
Post time: Jul-11-2025